
Hiya, all!
This final post in the "olives" series is also my entry for my dear, dear pal Barbara's spice challenge ("going back to school" and learning about spices). Now that the olives are ready - and that bay leaves had such an important part in creating their beautiful flavor - let's learn a tad about them.
From the McCormick Spice Encyclopedia:
Bay Leaves or Laurel, are the dried leaves of the evergreen tree, Laurus nobilis. The elliptically shaped leaves are light green in color and brittle when dried. They have a distinctively strong, aromatic, spicy flavor. Bay Leaves is the approved term for this spice, but the name "laurel" is still seen frequently.
In Ancient Greece and Rome, bay leaves and branchlets were used as wreaths to crown their victors. Champions of the Olympic games wore garlands of bay leaves. Our word "baccalaureate" means "laurel berries" and signifies the successful completion of one's studies. It alludes to the bay wreaths worn by poets and scholars when they received academic honors in ancient Greece.
Whenever I make soup, pasta sauce or anything that needs to taste rich, I add a leaf or two. They somehow add that little extra punch, and it's hard to explain what, exactly, it is they do, but somehow they make any less-than-perfect soup, chowder or sauce, perfect.
Since bay leaves are quite strong in flavor, they are to be used in small quantities and discarded before eating. In the process of making olives, we added one or two leaves to each of the jars.
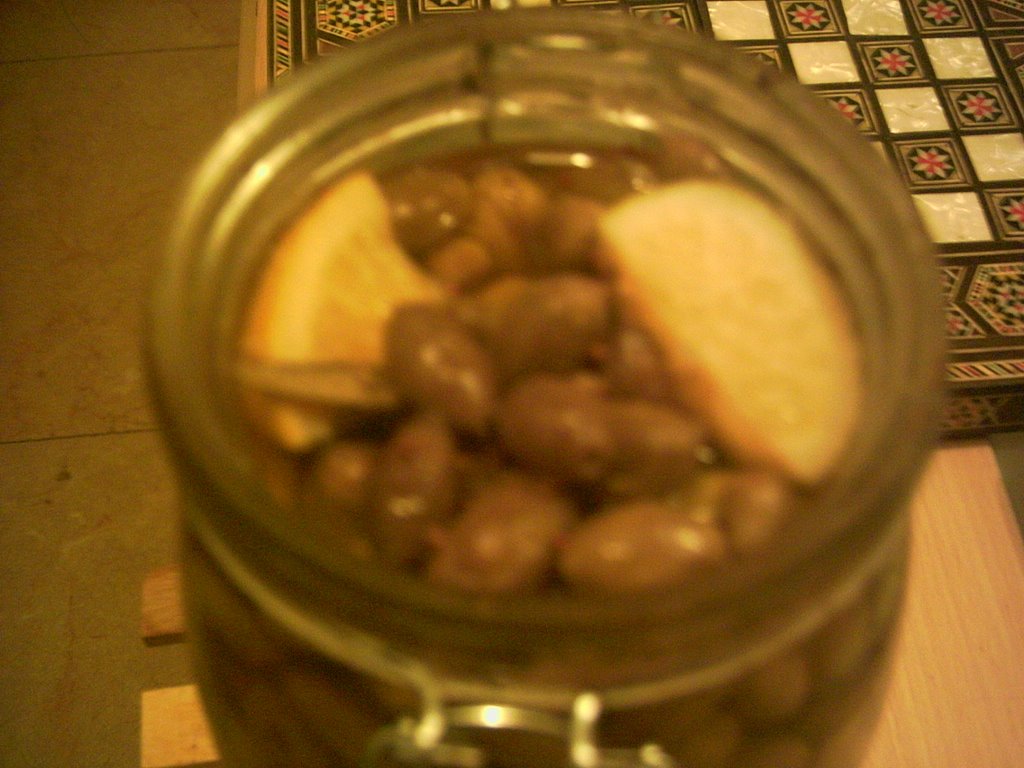
The picture really doesn't do the olives justice. They came out delicious, and I suspect if we give them a few more days they'll be even better. So, here's the now-tried-and-true way to do it:
1. Upon getting your olives off the tree, soak them in clean water, for three days. Change the water daily. Optional but really improves the olives: make a small cut in each of them with a knife, or pound them with a heavy object so they are cracked. They will be tastier and absorb the marinade better and faster.
2. On the fourth day, get nice, clean jars and the following ingredients per 1 kg of olives:
* 1 red hot pepper
* 1/2 lemon
* 1 tablespoon black pepper, unground
* 1 tablespoon mustard seeds
* 1 bay leaf
optional ingredients:
* 1-2 garlic cloves sliced in half
* 1 rosemary twig
3. Make a water-salt solution - 1 heaped tbsp salt to 1 cup water. You know it's salty enough when an egg placed in the solution floats up.
4. Place the olives and the spices in the jars:
* First, put a couple of red peppers and two lemon slices in the bottom.
* Cover with a thick layer of olives.
* Sprinkle some pepper and mustard on top.
* Cover with olives.
* Place bay leaf and additional stuff, if you want to.
* Cove with olives.
Repeat until jar is full.
5. Then, pour on top of the olives the salty solution, all the way to the top.
6. Seal with a layer of olive oil and/or wine vinegar.
7. Let stand in a cool, dark place, for about two weeks.
8. Find out when your friends' birthdays and anniversaries are, so you can give them olives. Don't have any olives? Let us know and we'll send them some!
3 comments:
Hey, I found your recipe online, and it worked wonderfully! The olives were ready within two weeks. I added extra pepper (regular and hot), but that's a matter of taste. Thanks for publishing it!
I'm so glad, Liz!
13 years later. I'm trying this as well. Thanks Hadar.
Post a Comment